Each of the windows is preset by the implementation program to a different mode. The upper left section is set to All Characters, the upper right section to Capitals mode and the bottom section to Numbers mode. Press ENTER when data entry at an item is completed and the data entry cursor is erased and the highlight is placed over the next item. Each of the data entry operations produces a different tone. The tone for the ‘C’ to ‘L’ cursor is the highest frequency tone, the character tone is lower, and the ENTER to end data entry at that item is the lowest. This new data entry routine just as the older version has two sister routines that see to it that no less than 0 characters are left after a delete. The new data entry routine uses the standard ‘CS’ + ‘0’ for character delete. This new data entry routine still does not provide an insert mode and locks out the arrow keys. I had considered and had tested an insert function for this new version but the fact that with the extended BASIC functions slowing down the whole data entry routine so much, I gave up on having an insert function with this version. Pressing Change function will change the business name LOOMIS-SHADE PHOTOGRAPHY to LINDA SHADE PHOTOGRAPHY and the AM to PM for the time of day entry and back again when each is highlighted. This demo has a complete date and time of day checking and error reporting routine. The Window to Window Shift function will cause the highlight at any item in any window to shift to the first item in the next window. The Next or Prior item function moves the highlight from item to item only within a window in an up or down direction with wraparound. Pressing the Finish function at any time allows the user to add any amount of data desired from a blank file to a fully entered file. The Finish function will first prompt ‘Is All This Data Correct? ‘Y’ or ‘N’. If NO is pressed the user can return to change or enter data into any item entry. If ‘Y’ is pressed that concludes data entry into that file unit and ‘Another File Unit? ‘Y’ or ‘N’ prompt will appear. If ‘Y’ is pressed this will clear all the entries for the last file unit from the display and setups the next file unit for data entry. If N is pressed the data entry operation is ended and the program will display the main options menu. The Quit function provides an immediate escape from the data entry operation to the main options menu at any time. One of the most important improvements to this demo is the far more extensive core of subroutines, the MC components and use of HI-RAM memory to temporarily store data entered.. All the characters in all these fonts center properly within the TIMEX attribute color (paper) block they are printed into.
There are five fonts used by these demos:
1. LarKen 64 character (for data entry),
2. LARKEN Italic (for printing our company name to the screen on simulated labels)
3. LARKEN 42 character (printing titles within the windows)
4. TIMEX 32 character bold (titles & menus)
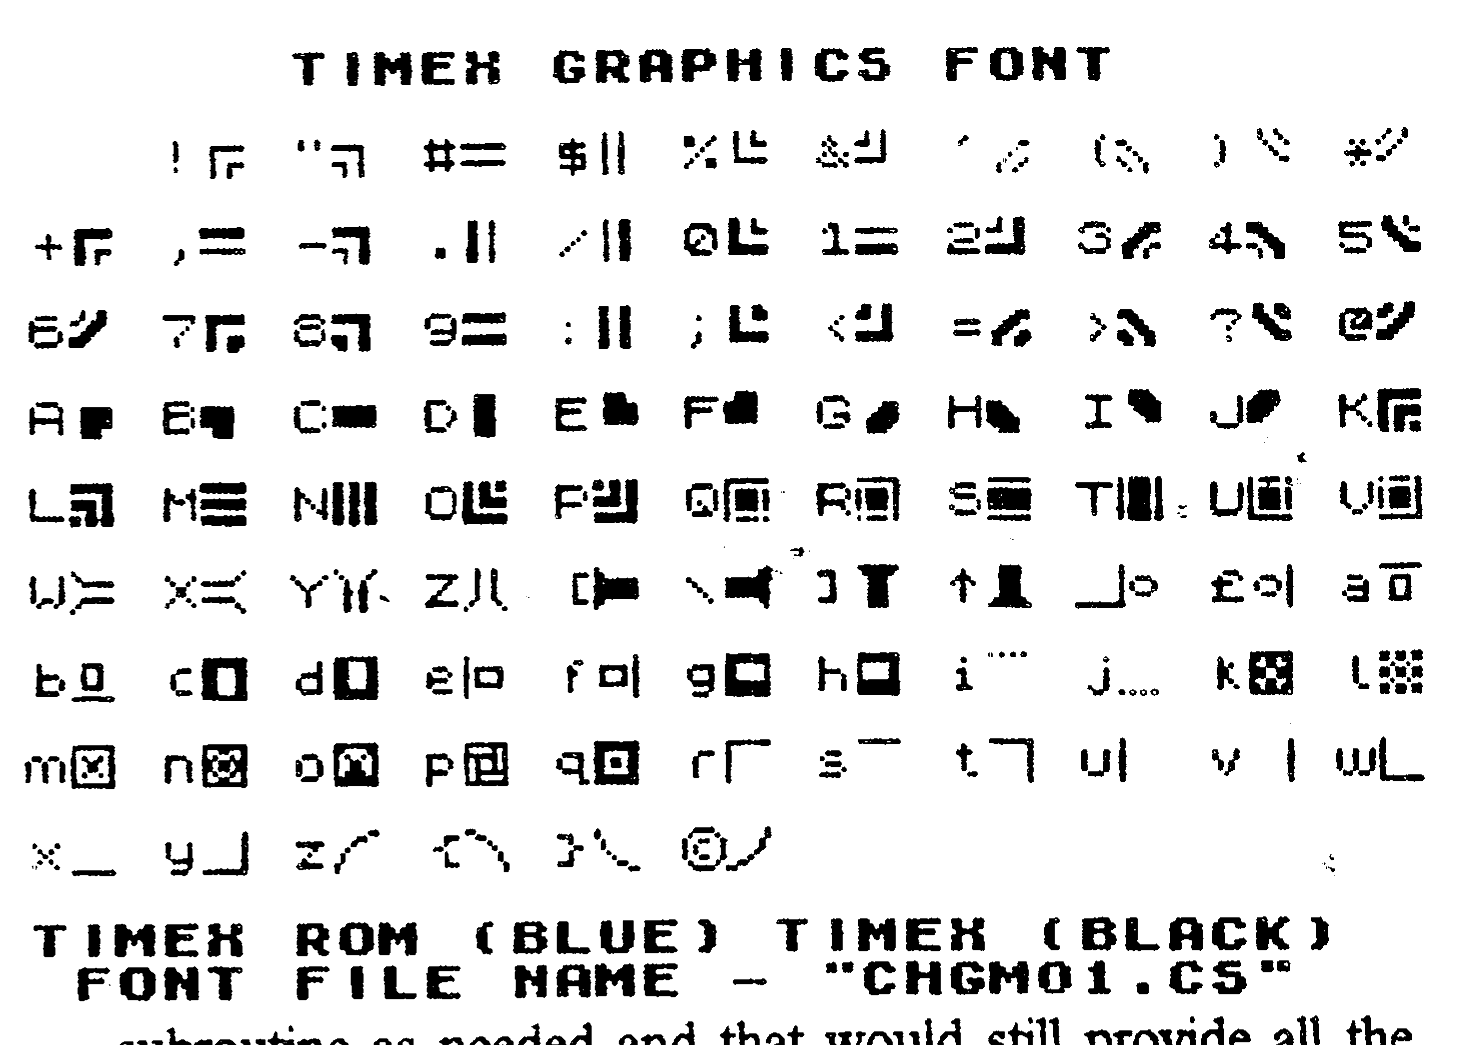
5. TIMEX Graphics (borders, frames, constructs, simulated tractor-feed sheets & labels).
Even though the LarKen italic font has been improved it still suffers. This produces a line which is readable, but slightly wider than desirable. Because the primary use of this font is to print our individual and company names to the screen display as simulated labels and record pages, the font has been divided into two halves to provide two ways of printing those names. The first half of the LarKen italic font only provides numbers, function capital and some symbols to be printed as individual stand alone characters. The second part is lower case characters which have been designed to print somewhat more succinct versions of our individual and company names. This is done by designing the whole line of characters so close together that most of the 8 x 8 character blocks have more than one character per block. If for instance the LarKen italic font was selected you could print my company’s name to the screen display by either PRINT #7; “LOOMIS-SHADE PHOTOGRAPHY” or PRINT #7; “mmnopqrstefghijkl”. The second screen print would not be as wide, but both are OK. The LarKen 64 character font is LOADed into the LarKen cartridge. The LarKen 64 character font is the font used for the data entry routine. This font also provides three mode cursors. It provides an inverse ‘C’ & ‘L’ for the standard upper & lower case printing, and an inverse right facing arrow cursor for numbers only data entry. I selected the standard font characters to be converted for use as cursor because I felt they were the least used and least missed. These were the underline, character code 95, for the inverse ‘C’ cursor, the up arrow, character code 94 for the inverse ‘L’ cursor and the back-slash character code 92 for the inverse right-facing arrow cursor.
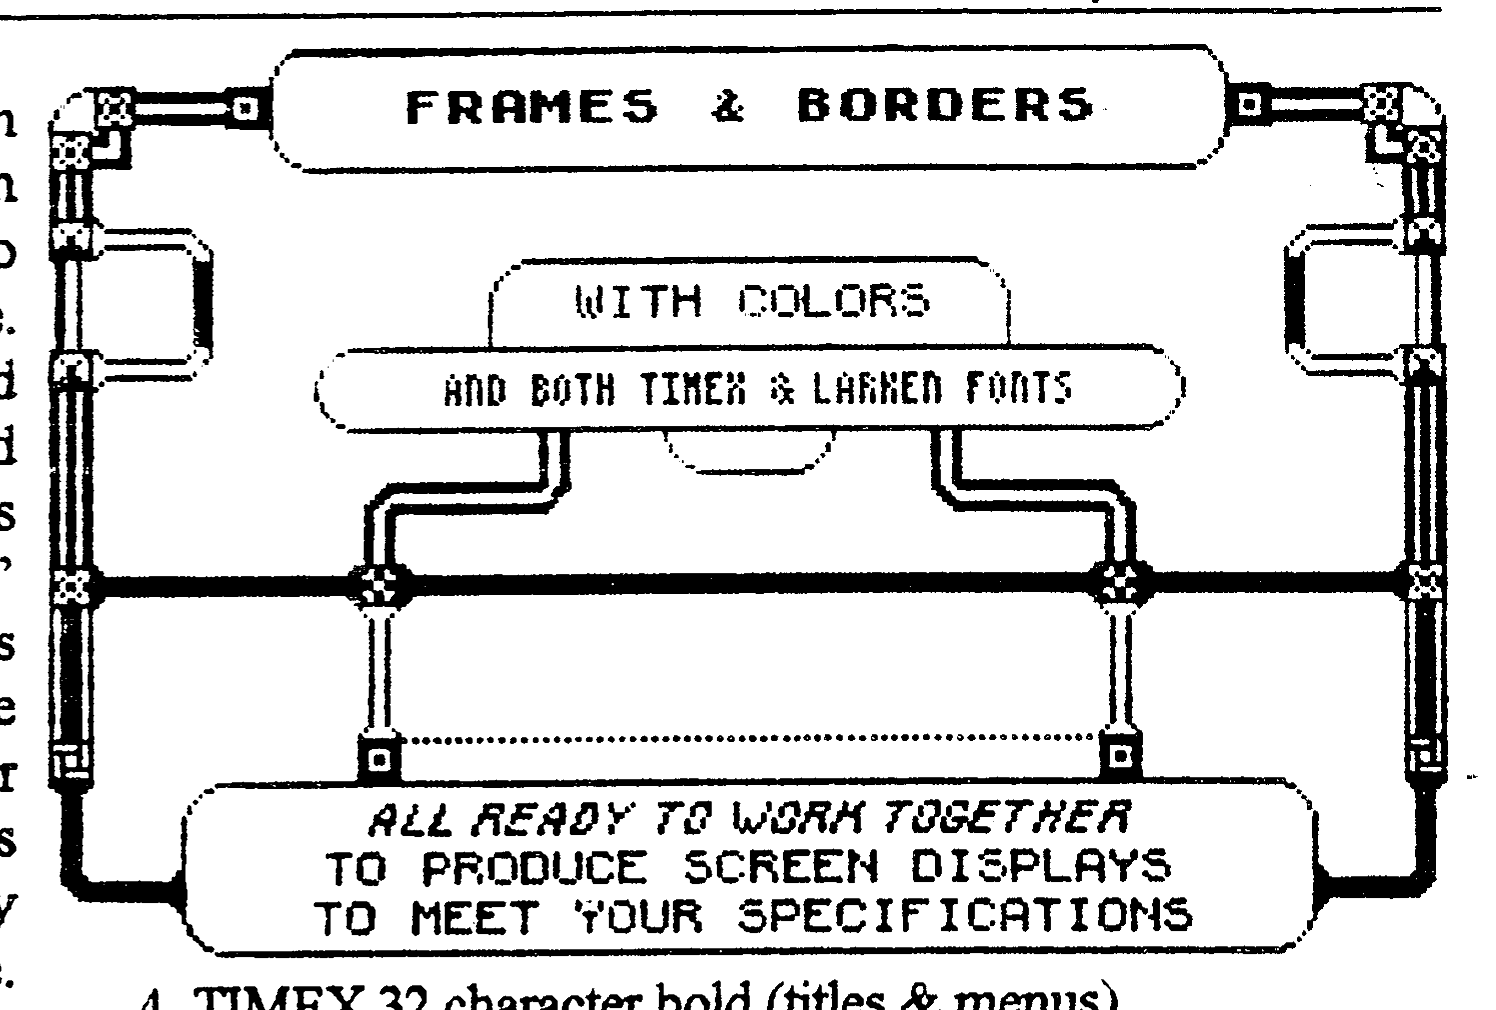
These three selectable modes simplify data entry. A numbers only mode entry does not need a separate routine to ascertain if letter, function or symbol characters have been entered into a date or time of day entry by mistake. This new data entry routine allows the extended mode characters to be entered in all characters and caps. By pressing SS & the Y. U, P, F or G keys, the user can print the extended mode brackets and copyright symbol to the screen. Not all these 5 fonts are used in the three window screen displays, so I have included two other demos that use all the fonts and graphics. The first of these extra demos is the font demo which presents one font at a time with its type and file name along with the standard TIMEX ROM font for comparison of use. The second extra demo is the graphics demo and uses primarily the TIMEX Graphics font to produce borders, frames & constructs. Each main screen display is labeled and some of the dozens of screen displays are titles and colored. In the graphics demo there are several displays which are used to preview data printouts these are the tractor-feed labels and pages. Other graphics displays are for the production of cover screens, such as horizontal and vertical film strips. The old “FILMRECORDER” demo did have fonts in HI-RAM but did not have any MC program blocks in HI-RAM. These three window screen display demos do have some MC program blocks in HI-RAM. These include Jack Dohany’s LarKen Disk Utility, 255 bytes and Jack Dohany’s The Break Utility, 80 bytes, my Primary Data Entry Routine, 1399 bytes, and my Data Storage Buffer Clearing Routine, 65 bytes. I have enclosed a copy of the memory map of memory usage above RAMTOP, a copy of the core subroutines catalog listing, a copy of the substitution chart for the extended mode characters, a flow chart and a list of the router variable used in the LarKen extended BASIC part of the data entry routine, copies of the fonts demo displays and a few variables usage listings for your convenience. If the user/programmer needed more RAM space for an implementation program data string he could delete as many of the lines from the core subroutine as needed and that would still provide all the GOSUB’s to get the job done. If the core subroutines line numbers were not changed the user/programmer could still use the same catalog of core subroutines listing as before. The core subroutines could be reinstated with a DELETE/MERGE from the end of the implementation segment before the next implementation segment was itself MERGED into the. program. Drive these demos around, kick their tires and let me know what you think of them.