
Let’s keep looking at Bill Jones’ Daisy Disk, Disk No. 1. Autoload brings up the version, which is used for input and edit of documents. It is the version, at which we spend most of our time, working at the keyboard. For this, the value of ‘TURBO’ is 2.
Two issues ago, we discussed initialization procedures, for putting the ‘function’ menu on the screen. For those few readers, who missed that, our inputs are 3 2 1 y y y.
Last issue discussed item #1 of the ‘function’ menu, all the way through the ‘quickie’ menu. This time, we continue with item #2 of the ‘function’ menu, ‘Print Header.’
This is a short topic, so we will finish the article, by talking about what happens when our telephone company changes the area code, and what this means to our Daisy software. First, Print Header.
With Function Menu on the screen, punch the character 2 on the keyboard. Up comes a request, that you Type the CAP / Ln lgth limit is: 80. So, we INPUT a caption, whose length is 80 characters, at most. And, the on-line printer puts out a centered header in pica type, before returning to the function menu.
That’s all there is to that one, so what does our area code have to do with our Daisy software? (I’m glad you asked!!!!)
Well, all the letterheads have to be changed, along with the relevant variables, and do you know how Daisy stores variables?
The letterheads are all derived by Daisy from array n$. n$ is 13 bytes long with n$(9) = [phone number omitted](voice) and n$(12) = [phone number omitted] (data ).
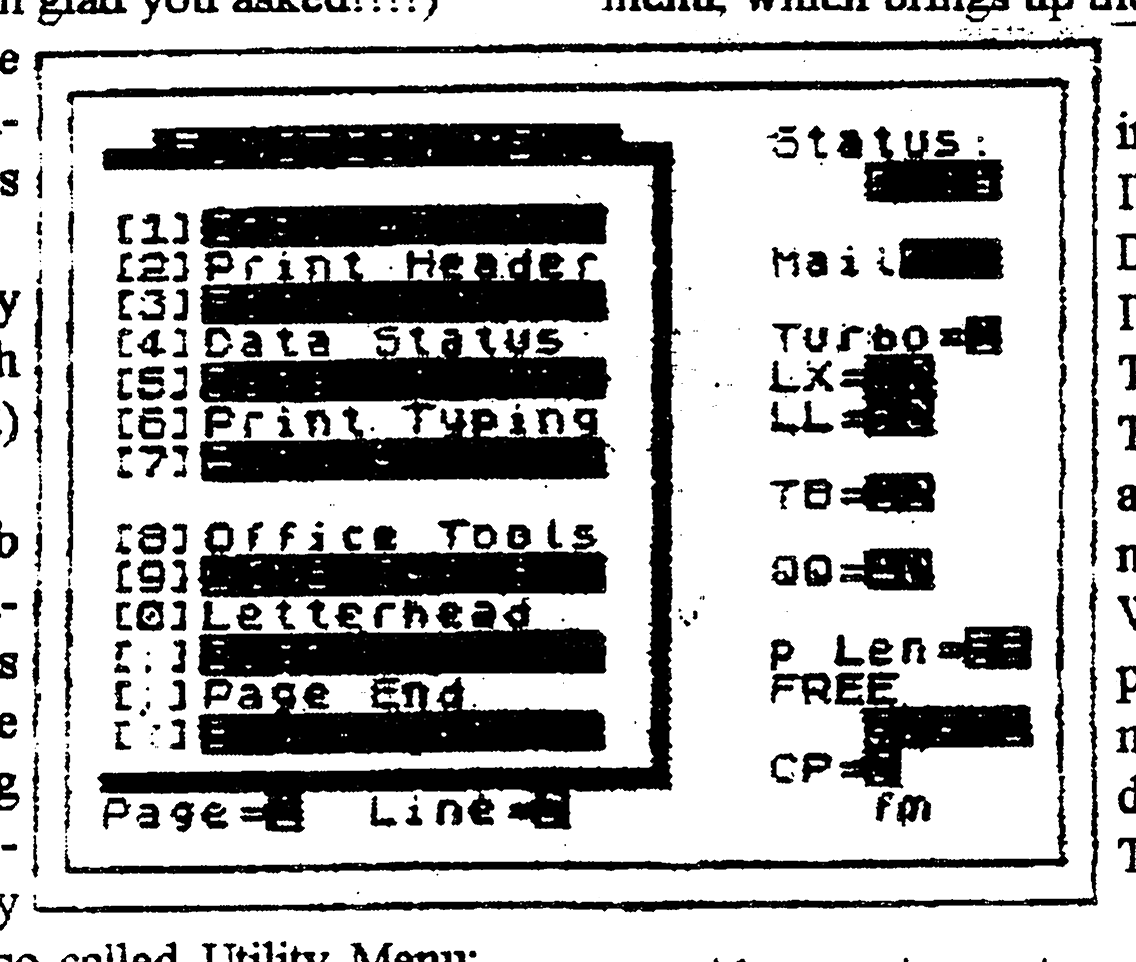
Thus, we load Daisy, perform a jab BREAK, and ENTER the above values for n$(9) and n$(12). We store this updated version of Daisy, by going to the function menu (GOTO fm); selecting item #5, Data Mgt. Menu (Data Management Menu); going to the save menu, by selecting item #1, SAVE Menu, of the so-called Utility Menu; and, saving Daisy, variables and all, by selecting item #1, Save Daisy Pgm + Data, of the SAVE DATA Menu.
That’s kinda hard to follow, especially since the system of names, while complete, is not entirely consistent. Well, anyone, who has ever heard of Kurt Goedel, can forgive Bill his inconsistencies! But, our job has not been completed either, since we have to change the variable file data base too. A catalog of our disk reveals the vars file, as 01831.C2. 01831 signifies a variable file of length 1831 bytes, and .C2 stands for the extension on all variable files, stored by Daisy. You see, in order to see all the different setups for printer runs, simply execute a CAT with a search string of ↑.C2. LOADing 01831.C2 into Daisy has the effect of reinitializing Daisy, including all its variables, like n$(9) and n$(12). Now, let’s update 01831.C2 itself, in order to reflect the new values of n$(9) and n$(12).
First, we LOAD and execute file varset.B6, which sets all variables for Daisy. Next, delete the BASIC file with DELETE, and merge Daisy with RAND USR 100: MERGE Daisy.B6. Last, go to the SAVE DATA Menu, as above and save the newly updated variable file, by selecting option #E, Save Vars. File Dbase.
Oh yes, don’t forget to first update file varset.B6 with appropriate changes to n$(9) and n$(12).
Oh, dear, what about the opening banner? In order to change the telephone numbers there, as well as apply color to the screen string, we make use of item #8, Office Tools, of the function menu. We will discuss the office tools menu sometime in the near future.
Well, that’s that, but, believe you me, it is easier said than done, due to the special use of the way the 2068 handles its variables and the special advantage we take of that.
Remember how memory-bound the 2068 is as a word processor, only 38k of RAM. Well, Daisy allocates this precious storage to text strings, as much as possible, and sets the rest of its variables, which we’re not going to change anyway, into memory starting at Vars, as contained in 23627. The alternative is to set all variables dynamically, which takes up a lot of additional memory in the program file, beginning at location PROG, as contained in 23635.
The Oliger disk operating system has a push-button facility for storing just the variable file, and, when Bill went over to LarKen DOS, he reproduced this facility by clever programming.
Next issue, we will consider item #3 of the function menu, which brings up the Format Menu.
Please consider our new and improved versions, ManlAd, PO+MM, IN+ED, and dbms, of Bill Jones’ Daisy suite of programs. We LOAD IN+ED, which has 1 for the value of TURBO.
The function menu comes up, directly, as there are no print options and hence no printer initialization.
We choose item #2, Print Header, by punching 2 on the keyboard, and, … nothing happens! Instead, we LOAD dbms, which has 0 for the value of TURBO.
The function menu comes right up with no print options or printer initialization. No reaction either to punching 2 on the keyboard.
Ah!, yes, this is a print option, and we need either PO+MM (turbo=2) or ManlAd (turbo=3) .
So, we LOAD PO+MM or ManlAd and get to the function menu, by quickly pressing 3, 2, 1, y, y, and y, in order to initialize our printer. Punching 2 selects item #2 on the function menu, in order to Print Header. Immediately, we are asked to Type the Caption “:/” LINE length limit is: 40. Upon INPUT of a header, no more than 40 characters in length, the on-line printer puts out the caption, centered and in enlarged Emphasized Pica @ 40 characters per line.
So much for item #2 on the function menu, in order to Print Header.
Please refer to the other article, in order to see how the change in area code was effected.
We shall end, by mentioning how delay is avoided, every time Daisy uses LKDOS in its typically a disk-intensive fashion. Daisy spends a lot of its time LOADing those marvelous menus of Bill Jones from disk, and while all menus and supporting software can go onto one floppy disk of 160 tracks, LOADing times are annoyingly slow. But, LOADing all menus from RAMDISK is exciting in its rapidity with a loss of negligible FREE memory. Only 7 blocks of RAMDISK are required.