
The entry point for the daisy code that manages “Screen Macros” is line 2443. That’s where the particular menu is. There are six entries.
What Bill Jones refers to as “Screen Macros” are stored by the 2068 as screen strings. When we use this code to create “Screen Macros”, it is usually just a menu, with color stripes on it. Very attractive, as they say, and seductively expressive, as they don’t say! So, let’s enter “1”, in order to “Create Macro”. Up comes the following message:
Build a Screen Macro. Line 2443
You may input up to 22 Lines. 2447
The Screen File will be SAVEd with the file name that you input, with a “.C4” extension.
ENTER WHEN READY
Then, we proceed to ENTER as many as 32 characters in response to 22 prompts, as described above. 2448
Next, we are shown the screen, as ENTERed, and offered the choice to either escape back to the menu or edit the 22 lines of 32 characters, just ENTERed. 2449 2450
So, let’s edit !! The foregoing entries scroll by as two screens of eleven labeled lines each. We now are asked to either ENTER “q” to escape back to the menu, or ENTER the line number, from 1 to 22, of any line to correct. This takes us back to the preceding paragraph, where we are shown the screen, as corrected, and offered the choice to either escape back to the menu or edit … . 2451
Well, when we are satisfied with this viewing and re-editing process, then we escape back to the menu, where we can choose to “SAVE Macro.” 2443
First we are asked for the of a disk drive, to which to SAVE the screen string, which we created, above. Next, we ENTER the name of the macro, without extension. 2453 :4
The screen CLEARs, and the text of the screen macro is displayed on-screen in black and white, prior to being SAVEd as a screen string. The “screen macro” has just been SAVEd with the given name and with an extension of “.C4” , and we return to the menu. 2453 :11
Now, that our “screen macro” is on disk, there are several ways to go. Suppose we “PRINT Disk Macro File.” Then, we have to ENTER the disk drive , containing the screen macro, we want to PRINT on the printer. There is a CAT of all the files with an extension of .C^, and we are asked to ENTER the screen file title and extension. The screen displays the screen string, and we are asked for the left margin (TAB) of the desired printout. 2444 :7 2444 :8
Then, the printer springs to life, listing out 22 lines of 32 characters, each, text which was initially ENTERed, as above, while creating the “macro”. 2444 :11
Interesting, how the screen be read. Remember, the screen is just a graphic display of little pixels. Well, the function SCREEN$(I,J) assumes the string value of the character (of 8*8 pixels), located at line I, column J. So, we just treat the screen as a matrix of 22 lines and 32 columns. And, we print-out the matrix. That Bill Jones is really clever, although we have seen that technique before. 2444
Suppose we are going through a disk, full of screen strings, cleaning up the disk. Then, we use “View/Edit Disk Macro File”. First, we ENTER the disk’s drive , getting a CAT of all the .C^ files. ENTERing the screen file title and extension, the screen string is LOADed, color and all, and we are offered three options. 2445
First, we can escape back to the menu, if everything looks all right. 2443
In case the screen string be garbled or something, then we can ERASE it from disk, by just Pressing “2”. 2461
Suppose it were garbled, BUT we can at least work with it. Then, we PRESS “1”, in order to EDIT it. Now, we have to wait, as the graphic pixels of the screen be read by function SCREEN$, as above, converting the 176 x 256 screenful of pixels into a 22 x 32 matrix of characters. 2446
Then, we bounce back to the screen display of paragraph 5, above, where we can correct the text, line by line, for all 22 lines of 32 characters. After editing, we ENTER “q”, to escape back to the menu. 2451
To be safe, we should ENTER “3”, in order to “SAVE our Macro”. But, it is only in black and white. So, let’s add a little color , by ENTERing “5”. 2443
We get a message, that “This Program Colors Screen Strings on Disk,” and we can either escape back to the menu or “Get the File,” to be colored. So we “Get File,” by ENTERing its disk drive . The screen string, to be colored, is then LOADed onto the screen, and we can now see why we should always STORE our screen strings, even if they be only in black and white. Because, in order to color them, they have to be LOADed in from disk. 2445 2446
Anyway, we are presented with the screen string and asked, whether we wish to color the lines, yes or no. 2457
Suppose we want more color. Then, we ENTER “1,” and we are asked for a starting line . This is anything from 0 to 21, whichever character line we desire to color. Then, an ending line (from 0 to 21.) Then, PAPER color (between 0 and 7). The as the specified PAPER and INK be applied to the screen from the starting line to the ending line. Again, we are asked, whether we wish to color the lines, yes or no. 2458 2457
Otherwise, we are finished applying color to our screen string. So, we ENTER “2,” and are asked whether we wish to RE-SAVE the screen string, as colored on the current screen. 2459
If no, then we escape back to the menu. 2460
If so, then the formerly black and white screen is SAVEd, back onto the same disk, whence it came. 2459 :6
One way or another, we’re gonna get back to the menu, the last Entry of which takes us back to one of the Daisy menus. 2462
2442: ON ERROR: GO TO fm
2443 CLS : PRINT AT op,oo;"[Il Create a Macro" ' "[2] PRINT disk macro File" ' "[3] SAVE the macro" ' "[4] View Ed disk Macro File" ' " [5] Paint a disk SCREEN$ File " ' "[6] To Program Menu": GO SUB il : GO TO (z<oa OR of<z)*VAL "2443"+(z=oa)*VAL "2447"+(z=ob)*VAL " 2444"+(z=oc)*VAL "2453"+(z=od)"VAL "2444"+(z=oe)*VAL "2455"+(z=of)*VAL "2462"
2444 CLS : GO SUB il+ob: RANDOMIZE USR ml: CAT ".C^",: INPUT " INPUT SCREEN$ File Title+EXT "; LINE z$: RANDOMIZE USR ml: LOAD z$SCREEN$ : IF z=ob THEN INPUT " INPUT Tab : ";tb: LPRINT : LPRINT : FOR n=oo TO ov: LPRINT TAB tb;"";: FOR y=oo TO t3+oa: LPRINT SCREEN$ (n,y);: NEXT y: LPRINT : NEXT n: LPRINT ; GO TO k2+m4+t4+oc
2445 INPUT ;: PRINT #RND;"<1> Edit <2> ERASE <3> Menu ": PAUSE o o: LET Y=CODE INKEY$-CODE "0": GO TO (y=oa)*VAL "2446"+(y=ob)*VA L "2461"+(y=oc)*VAL "2443"+(y<oa OR oc<y)*VAL "2445"
2446 INPUT ;: PRINT #RND;"Uno Momento. Moving TO P$ .   .   .": DIM p$(ow,t3+ob); FOR n=oa TO ow: FOR y=oa TO t3+ob; LET p$(n,y)=SCREEN$ (n-oa,y-oa): NEXT y: NEXT n: GO TO k2+m4+t5+oa
2447 CLS : PRINT AT oe,ob;"Build a SCREEN$ Macro" ' ''TAB oa;"You may INPUT up to 22 LINE s." ' 'TAS oa;"The SCREEN$ File will be SAVED"'TAB oa;"with the file name that you INPUT with a "".C 4"" extension."''TAB oa;" INPUT when ready": PAUSE oo: CLS
2448 DIM p$(ow,t3+ob): FOR n=oa TO ow: PRINT AT ov,oo; INVERSE oa;" : INPUT LINE p$(n): PRINT AT ov,oo;"..........................";AT n-oa,oo;p$(n): NEXT n
2449 CLS : FOR n=oa TO ow: PRINT AT n-oa,oo;p$(n): NEXT n: PAUSE OO
2450 INPUT ;: PRINT #RND; INVERSE oa;"<1> Edit <2> Menu ";: GOSUB sq: PAUSE oo: LET Y=CODE INKEY$-CODE "0 ": PRINT #RND;y: GO TO (y>oa OR ob<y)*VAL "2450"+(y=oa)*VAL "2451"+(y=ob)*VAL "2443"
2451 CLS : FOR n=oa TO ow: PRINT " LINE # ";n'p$(n): NEXT n: INPUT " INPUT Line # to Corr or <q> QUIT"; LINE m$: IF m$<>"q" AND m$<>"Q" THEN INPUT " INPUT NEW LINE    "; LINE p$(VAL m$): GO TO k2+m4+t4+oi
2452 GO TO k2+m4+t4+oc
2453 INPUT ;: PRINT #RND;"DD # TO SAVE TO ? ";: GO SUB il+oa: INPUT " INPUT Name ONLY of Macro: "; LINE w$: LET w$=w$+".C4": C LS : FOR n=oa TO ow: PRINT p$(n): NEXT n: RANDOMIZE USR ml: SAVE w$ SCREEN$ : CLS : GO TO k2+m4+t4+oc
2455 CLS : PRINT #RND;"This Pgm colors Disk SCREEN$ file<1> Get File <2> QUIT ";: GO SUB il: IF z=ob THEN CLS : GO TO k2+m4+t4+oc
2456 CLS : GO SUB il+ob: RANDOMIZE USR ml: CAT ".C^",: INPUT "file name + EXT : "; LINE z$: RANDOMIZE USR ml: LOAD z$SCREEN$
2457 INPUT ;: PRINT #RND;"Color LINE s ? 1 yes 2 no ?? ";: GOSUB il: IF z=ob THEN GO TO k2+m4+t5+oi
2458: INPUT " LINE # (Start) ? ";xl: INPUT " LINE # (end) ? ";x2 : PRINT #RND;AT oo,oo;" PAPER # ? ";: PAUSE oo: LET p=CODE INKEY$-CODE "0": PRINT #RND;p: PRINT #RND;" INK # ?;: PAUSE oo: LET i=CODE INKEY$-CODE "0": PRINT #RND;i: PAUSE oo: ON ERROR: GO TO k2+m4+t5+oh: FOR n=xl TO x2: FOR y=oo TO t3+oa: OVER oa: PAPER p: INK I: PRINT,AT n,y;" ";: NEXT y: NEXT n:: INK og: PAPER oo: OVER oo: GO TO k2+m4+t5+og
2459 INPUT ;: PRINT #RND;"RE SAVE ? <1> Yes <2> No ? ";: GO SUB il: IF z=oa THEN INPUT ;: RANDOMIZE USR ml: SAVE z$SCREEN$
2460 GO TO k2+m4+t5+oe
2461 RANDOMIZE USR ml: ERASE z$,: GO TO k2+m4+t4+oc
2462 DIM p$(oa): IF gg THEN RETURN
9998: CLS : BEEP 0.02,20: PRINT *RND;"Data disk ? ";: PAUSE-O : LET d=CODE INKEY$-CODE "0": PRINT #RND;d: RANDOMIZE USR 100: GO TO d: RANDOMIZE USR 100: CAT "",: BEEP 0.2,24: INPUT "Entire File Name ? "; LINE z$: RANDOMIZE USR 100: OPEN #2, z$( TO LEN z$-2)+ "CX"+" OUT ": LIST : RANDOMIZE USR 100: CLOSE #2: STOP : REM MERGE in order to generate text file (.CX)
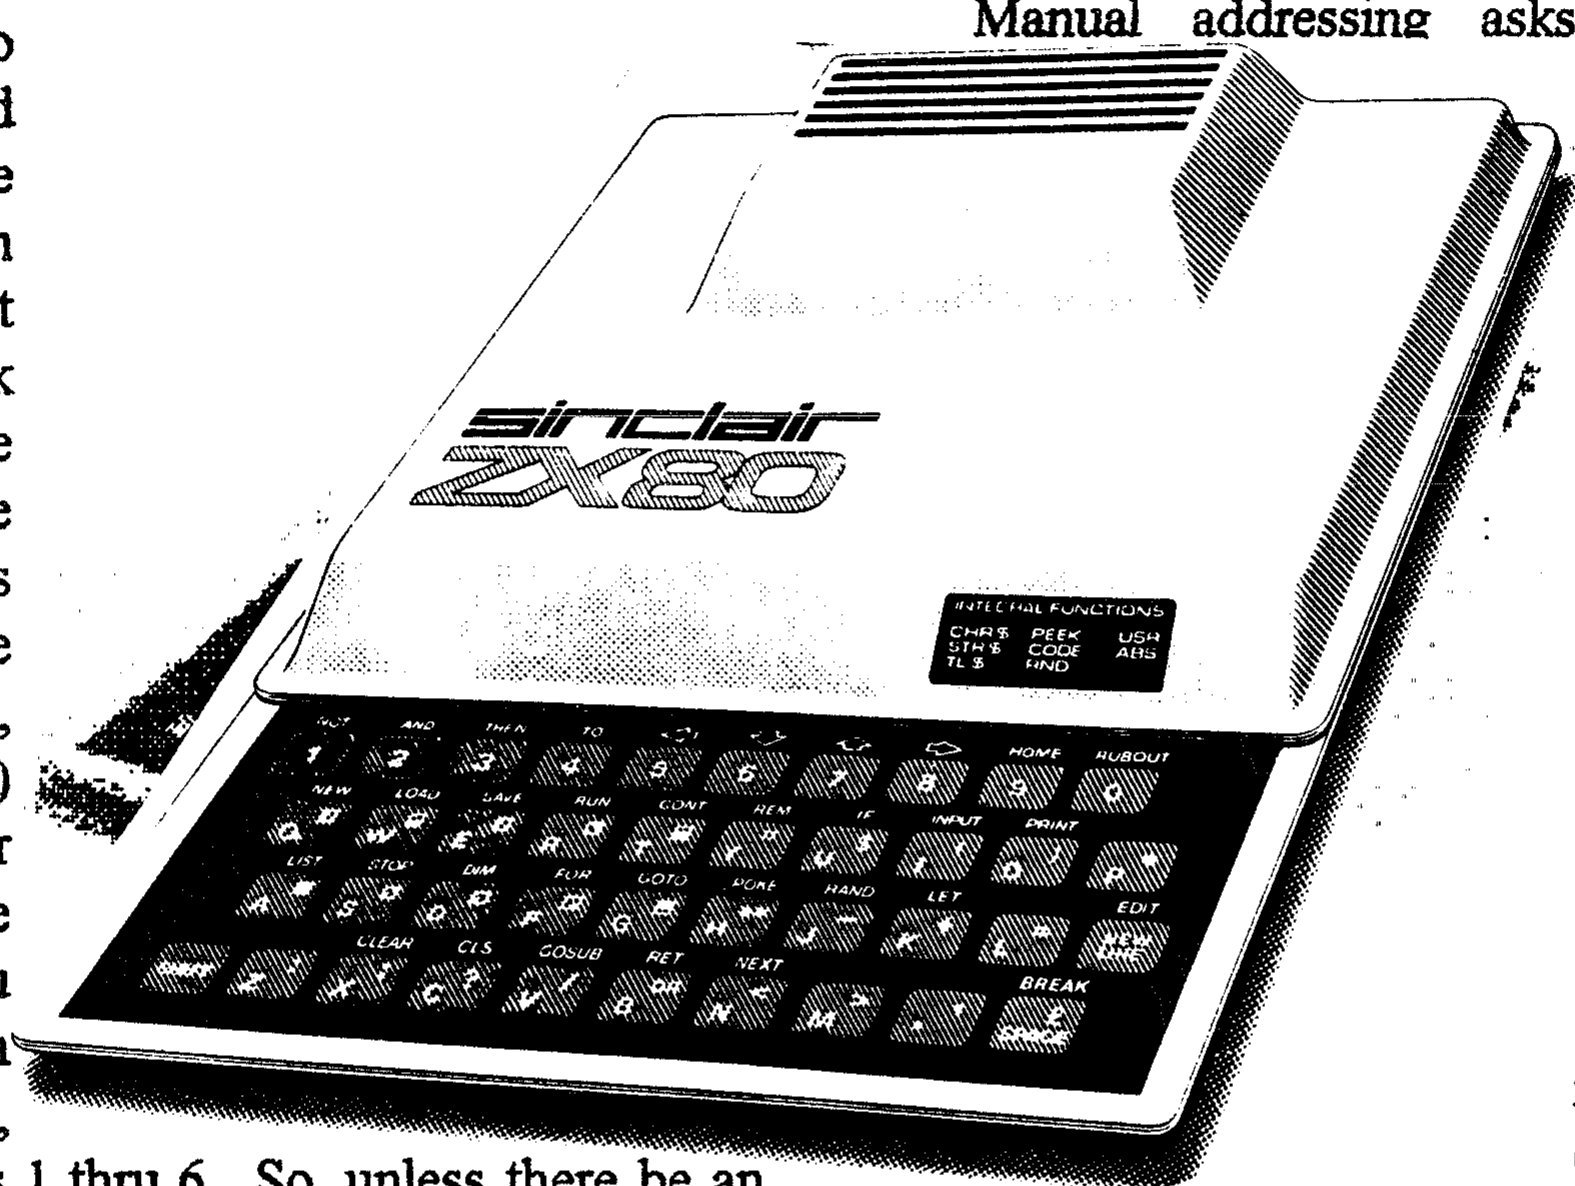
OK, guys: Time to continue with our word processing primer of the best single such program for the 2068. So, get out and install your daisy disk 1. after Bill’s broadside banner loads, a little tune plays, and a key is requested (dared??) to be pressed. Anyway, 3,2,1,y,y,y (presses) initialize the printer software the way we like it, and the Function Menu springs to the screen. In the last six issues of ZQA, we have discussed entries 1 thru 6. So, unless there be an objection, we consider item 7 on the Function Menu this time. It is entitled “Auto Print” and invokes the automatic printing facilities of Daisy. So, we press “7” . This is like navigating gopherspace on the Internet. as another menu comes up! We choose between “Print a Selected Memory File”. “Word Proc With User Pgm Gp”, and “Word Proc 1-50 Disk Files” . Consider the “memory files” : 21 selections include all of h$(1) through h$(7), i(1) through i$(7), strings a$, b$, c$, d$, and e$, the typing buffer u$ (see last issue’s discussion), and a choice for “abort” that brings us back to the Function Menu, without printing anything. For example, suppose we put some typing into the typing buffer u$, according to last issue’s discussion of daisy’s “typing mode.” Then, by ENTERing “15” in order to print u$ as “a selected memory file”, the program drive begins to load the relevant menus and the printer drivers, climaxing in the printer’s printing of whatever we put into u$! Then, program disk grinds again, leading us back to the Function Menu.
Suppose we choose to word process 1-50 disk files. Then, all data is lost. including memory files, as program Uptr.B6 be LOADed in from the program disk. Well, that’s all right, since the only data of interest, now, reside in ASCII files on disk. We proceed to specify up to 50 character files for printout in one pass of the printer!
Now, the BIG choice remains, to word process with the user program group of commands.
These instructions, between lines 2180 and 2277 constitute The Heart of Daisy. For, by customizing these lines, Bill Jones was able to publish three years’ worth of UPDATE Magazine ! That is, each issue contained articles of one, two, and three columns, graphs, graphic pictures, menus, maximizing the capabilities of 24-pin printers and, of course, 9- pin printers, too.
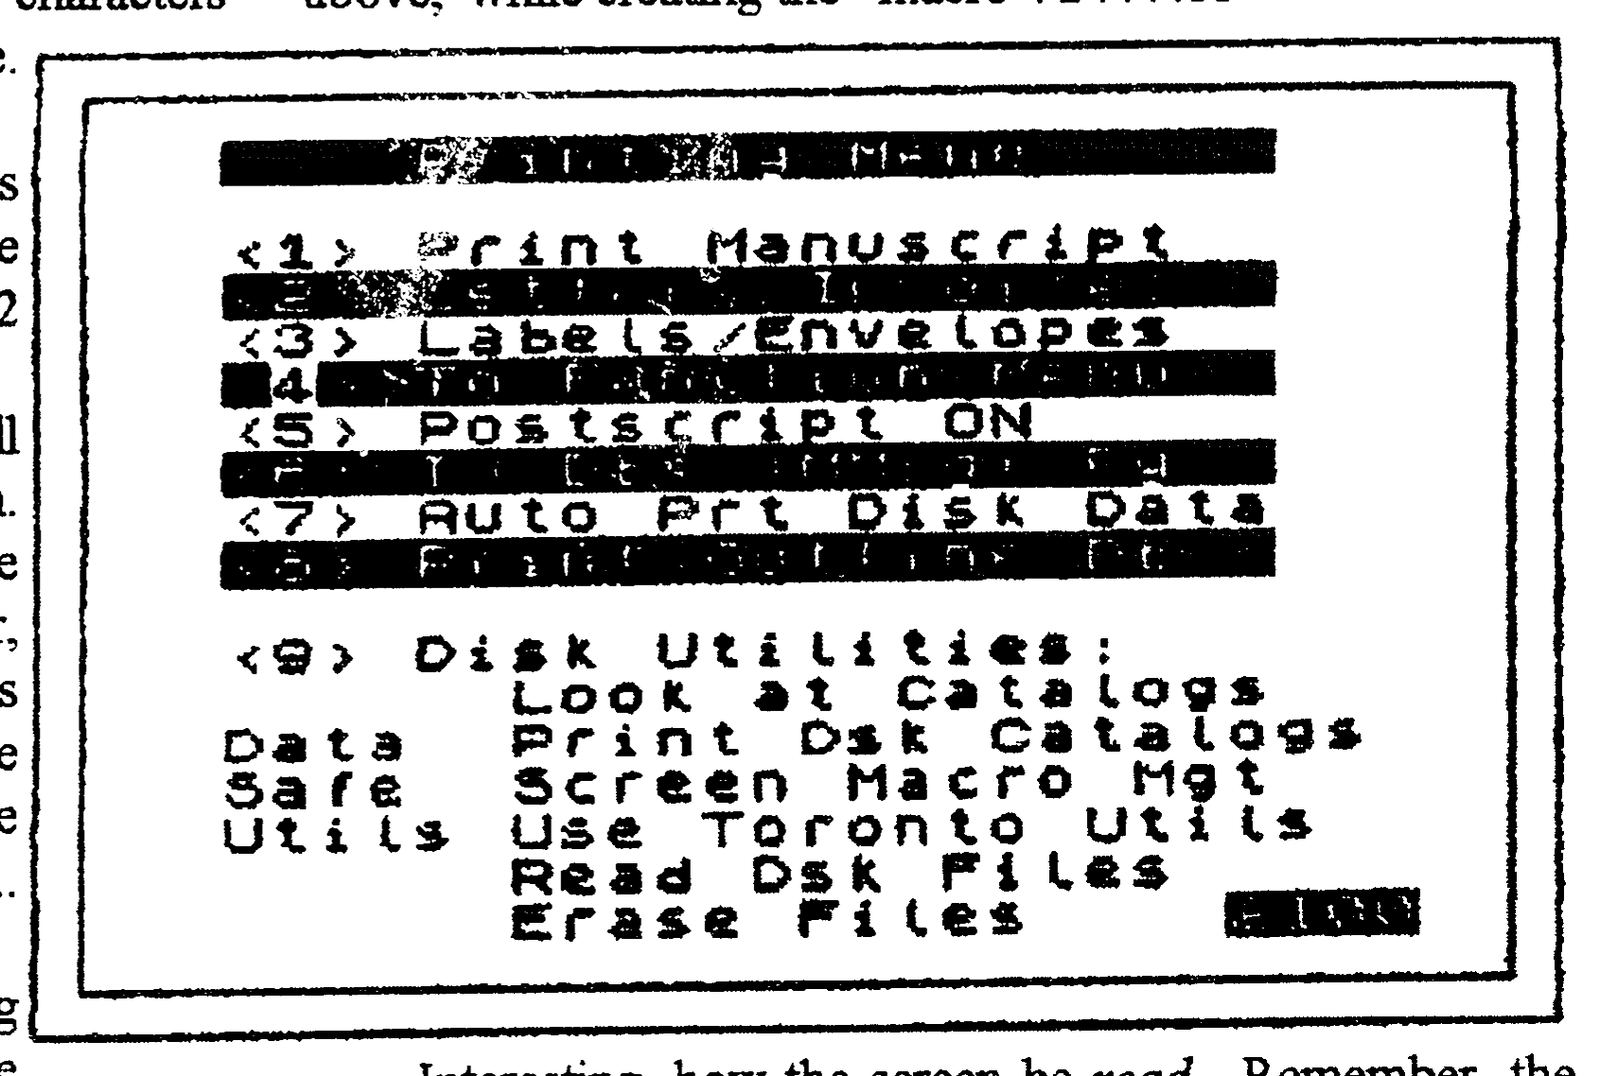
In any case, the pertinent menu (Printing Menu) offers nine options. Please refer to the accompanying picture.
Option 1. (Print Manuscript) performs a simple GOTO to the above “group of user program commands.”
Option 2. (Letters/Invoices) calls up another menu, to choose between Manual Addressing and Mail List Addressing.
Manual addressing asks for today’s date; the addressee’s first name; his company’s name; department; street address; city, state, and zip; and, lastly, number of copies. And, away goes the printer!
Mail list addressing implements mail MERGE, by referring to a previously stored mail list as a source of addresses. For example, choice of mail list addressing asks for today’s date, the starting record number of the mail list, the ending such record number, and the number of copies desired. And, away goes the printer, merging word processing and mail list, as many times as desired. Sure wears out our printer ribbon, though!!
Option 3. Labels/Envelopes, asks for formatting information, so that Bill can mail out all his magazines.
Option 4. To Function Menu, escapes to the main daisy menu.
Option 5. Postscript ON, sets a flag, so that u$ be printed as a postscript, three lines following the signature line of the letter.
Option 6. To Dbx (MMrg) Pg, calls in the Dbx program to manage a mail list as a data base, either by MERGE or LOAD, depending on whether we desire to retain data in memory.
Option 7. Automatic Print of Disk Data, prints out a sequence of character files, either manuscripts or mail lists. There is also an escape (abort) option.
Option 8. prints out an outline data base. Lastly, Option 9. calls up a variety of disk utilities with a menu, Disk Management.
Item 1. Create or Print Screen Macro, calls on a block of BASIC Code between 2440 and 2466, which prints screen strings and creates/prints colorful menus as screen strings. This code is so interesting as to deserve its own article.
Item 2. prints disk catalogs to the screen.
Item 3. prints disk catalogs to the on-line printer.
Item 4. performs a LarKen NEW on whatever disk drive is specified, as holding “The Toronto LarKen Utilities” of George Chambers.
Item 5. READ a Disk Data File, does a screen print of an arbitrary character file on disk. We use this all the time, in order to verify the integrity of letters, being readied for printout, ERASEing any corrupt files.
Item 6. escapes to the Function Menu.